


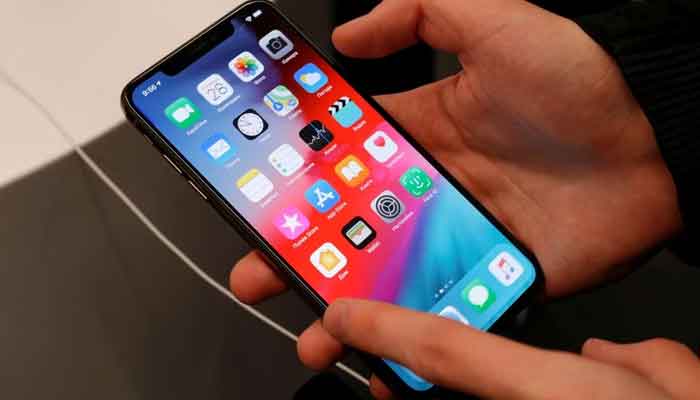
All Apple technology was initially developed with an emphasis on protecting the owner’s data. This is primarily due to the proprietary operating system, which functions completely differently than the publicly available Windows or Android. This means that the company maintains strict control over compatible third-party software, as well as constantly improving security protocols. For example, it is well known that there are practically no viruses for Apple computers and mobile devices, only malicious programs that the user can install at his peril and risk. Today, the Apple Pro Service Center team will talk about Apple’s advanced data protection for Mac, iPhone and iPad.
Table of Contents
How is personal data protected on Apple devices?
Let’s say right away that the security system consists of several levels. As we have already written, the first basic one is the general security of the operating systems macOS, iOS, and iPadOS. In addition, it is worth highlighting the following:
- System administrator password or code (for login). On devices with Touch ID or Face ID, the text password is directly linked to the integrated sensors.
- Apple ID login and password. This is a common ecosystem attribute where all your devices are linked to a personal ID that is stored on a remote server. Accordingly, with its help, it is possible to restrict access, delete all data, and block the device.
- EFI firmware password. Essentially, EFI is an analog of BIOS, that is, basic firmware at the hardware level, tied to a serial number. When locked, the device requires a password, even if the system has been reinstalled.
Other security features include the Activation Lock function, T2 security chip, and various MDM profiles. However, the average user does not need to know about all the intricacies; let’s move on to specific tips on how to protect data on iOS and macOS.
How to make your iPhone safer
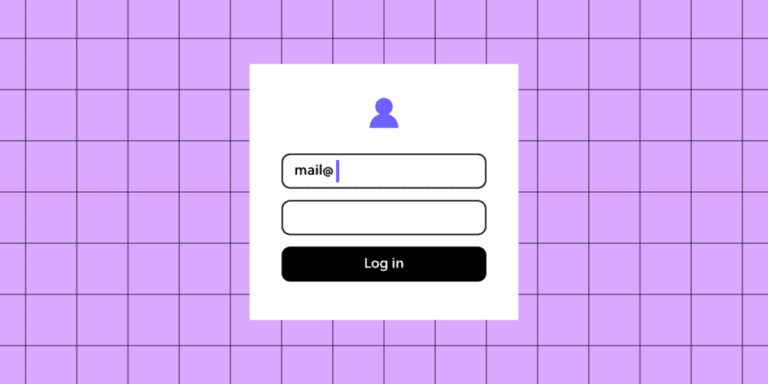
The first and most important step is linking your iPhone to your Apple ID (iCloud). As a rule, a profile is created during the initial activation of the smartphone. But, if you already own Apple technology and have a created Apple ID, you should use it. Checking the binding is very simple:
- go to iPhone “Settings”;
- your name will be displayed at the top of the window (if the linking has already been completed) or the words “Log in to iPhone”;
- click on the proposed description and enter your data (login and password);
- activate “Locator” (search for a lost iPhone).
Separately, we note the importance of storing your credentials. If you lose your login or password, you can restore access by contacting Apple support, but this is a rather complicated and lengthy process.
The second thing to do is create a user password. This is done in the same “Settings” window. Click on your name – “Password and Security”. Set a password code and remember it. It is also recommended to activate the “two-factor authentication” option. After that, if the iPhone is equipped with a Touch ID or Face ID button: go to “Settings” – “Face ID and passcode” and create a digital face model for quick unlocking using sensors (or a fingerprint for older models). These are the main levels of protection for the iPhone; in addition, you can set up a keychain in the “Passwords”, and “Location Services” items.
How to Improve Data Security on iPad
The Apple tablet’s security system has a lot in common with the iPhone (with minor differences). It is mandatory to link your iPad to your Apple ID and turn on Latitude. The difference is that most iPad models do not have Face ID and are equipped only with a touch button (or without it at all). Therefore, login is performed using a password code, which we recommend setting up and remembering. If your model does have Face ID or Touch ID, be sure to set them up; this will greatly simplify unlocking the tablet and increase its security.
Data Security on Mac
Protection against unauthorized access to a MacBook or other Apple computer is implemented very effectively. As with previous devices, the first thing you need to do is sign in to your Apple ID account. This is done simply:
- go to “Settings” (gear icon);
- in the window that opens we see your name (if you are logged in) or an offer to log in;
- click on this item and enter your Apple ID details;
- activate the Find My Mac function;
- In the “Name, phone, email” field, enter the current data.
After this, create a system administrator password:
- in “Settings” click on the “Users and groups” item;
- click on “+” to add a user, create a password;
- if necessary, we create several profiles, for example, for other family members;
- If the MacBook is equipped with a touch button, we create a fingerprint for unlocking.
For advanced users, a lock at the EFI level is available, in which a window appears for entering a password when turning on the Mac. But, this is a topic for a separate article. We especially focus on the need to timely update the macOS system and install all new security and stability updates.
How to protect your Apple ID
All your account data is stored on an Apple server, which takes great care of its safety. Therefore, all that is required of you is not to lose your login and password; for this, it is advisable to write them down somewhere. It is also important to monitor any messages from Apple that may arrive in your email. These emails always arrive when someone tries to log into your device. If it was not you, we carefully check all the settings and, if necessary, change the password in iCloud. Sometimes it happens that the user’s password has been lost; you can reset it yourself, or contact our Apple Pro Moscow service to unlock your MacBook, iPhone, or iPad.